
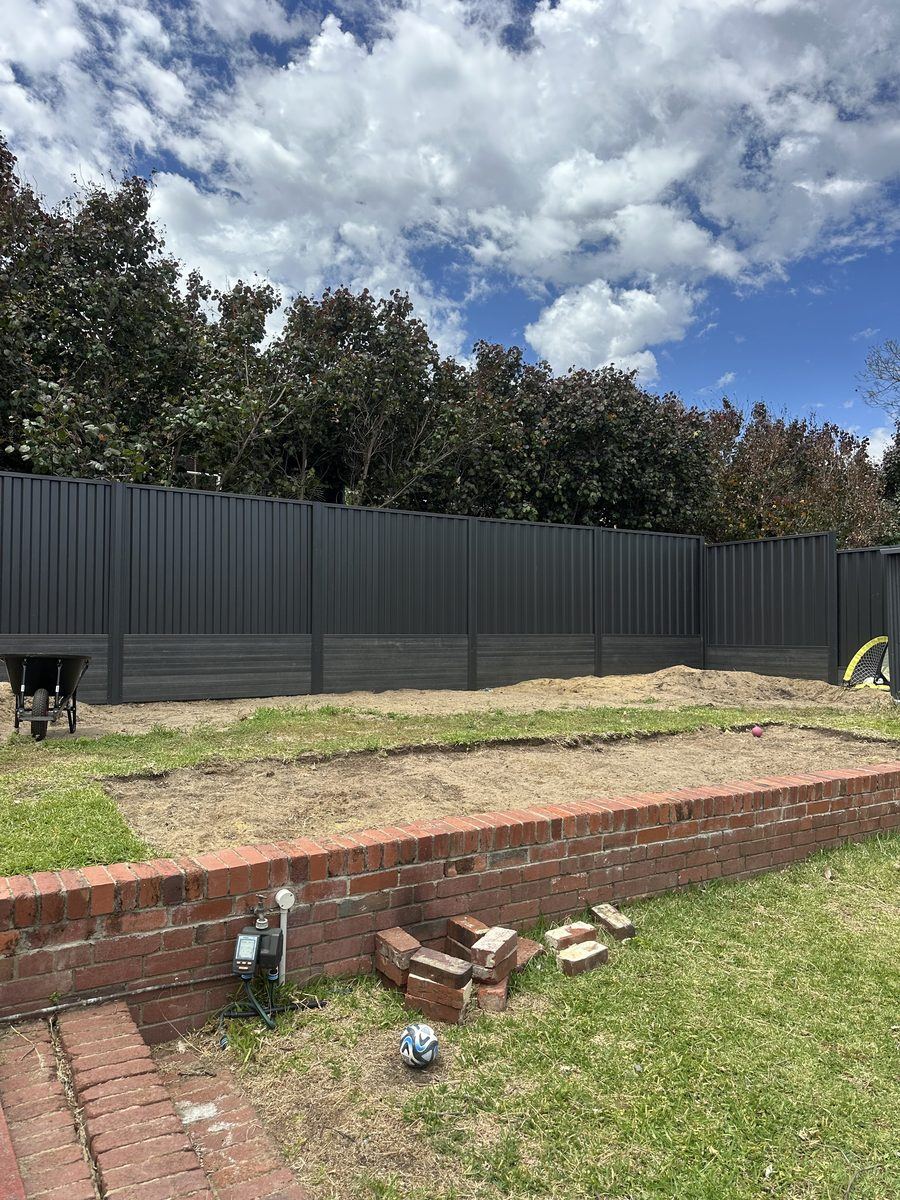
A leaning fence rarely fails all at once. More often, one panel rattles in the Fremantle Doctor, a post shifts after a wet winter, or the bottom rail starts showing wear where moisture has sat for too long. That is usually when homeowners start looking into Colorbond fence replacement steps - not just to fix the problem, but to end the cycle of patch jobs and get the boundary looking right again.
For most Perth properties, replacing a Colorbond fence is not simply a matter of swapping sheets. The condition of the posts, the alignment of the boundary, the level of the block and the age of the existing installation all affect how the job should be handled. If you get those parts right, you end up with a fence that looks sharp, holds straight and stays low-maintenance for years. If you rush it, the new fence can inherit the same problems as the old one.
When replacement makes more sense than repair
There are times when a repair is the smart move. A single damaged panel from impact or a loose section after a storm can often be fixed without replacing the full run. But if the fence is showing movement across several bays, if the posts are corroded or out of plumb, or if the original install was poor, replacement is usually the better investment.
That is especially true for older boundary fences where neighbouring properties share responsibility. A fence that has twisted, sunk or become uneven tends to create more ongoing cost than value. Replacing it properly gives both sides a cleaner result, better privacy and a stronger finish that suits newer homes and updated landscaping.
The main Colorbond fence replacement steps
The best replacement jobs follow a clear process. It keeps the site safer, reduces delays and helps avoid the common issue of installing a straight new fence over a crooked or poorly set base.
1. Inspect the existing fence and boundary line
The first step is to assess what is actually failing. Sometimes the sheets are fine but the posts are not. In other cases, the full run has reached the point where replacement is more efficient than piecemeal repair. The fence line should also be checked against the boundary, especially if the old fence has shifted over time or previous owners have made changes around retaining, paving or garden beds.
On sloping sites, this early inspection matters even more. It determines whether the replacement fence should be stepped, raked or adjusted to suit the fall of the land. A good-looking fence is not only about the panels. It is about how the whole line sits across the block.
2. Confirm access, materials and approvals
Before demolition starts, it is worth sorting out practical details. Can materials be brought in easily? Is there enough room for safe removal of old panels and posts? Are there any service lines, retaining walls or structures close to the fence line? These details affect labour, timing and installation method.
Depending on the property and local requirements, approvals or neighbour discussions may also be part of the process. For shared boundary fencing, clear communication early on saves friction later. It also helps everyone agree on the scope, height, profile and finish before work begins.
3. Remove the old fence properly
This sounds straightforward, but it is one of the stages where shortcuts create problems. Old sheets, rails and post sections need to come out cleanly without damaging nearby surfaces, landscaping or adjoining structures. Existing concrete footings may need to be broken out fully, particularly if the new fence layout or spacing differs from the original.
If only part of the old footing is removed, it can interfere with new post placement and throw the line out. On a replacement job, the goal is not to work around past mistakes. It is to reset the fence on a sound footing.
4. Set out the new line accurately
Once the old fence is cleared, the new fence run should be marked out with care. This is where levels, spacing and post positions are finalised. A straight set-out is what gives Colorbond fencing that clean, modern look. Even a quality product can appear average if the line is off or the bays are inconsistent.
This stage is also where experienced installers make decisions around awkward corners, narrow side passages and changes in ground level. It is rarely one-size-fits-all. A fence that works well on a flat suburban lot may need a different approach on a duplex site, a corner block or a commercial boundary.
5. Install posts and footings
Posts carry the whole fence, so this stage does the heavy lifting in structural terms. Each post needs correct spacing, depth and concrete support to suit the ground conditions and fence height. In WA conditions, soil movement, drainage and wind exposure all play a part in how footings should be handled.
This is one of the biggest differences between a quick install and a durable one. If posts are not aligned and properly secured, the rest of the fence will never sit as it should. You might not notice the issue on day one, but it usually shows up later as movement, rattling or uneven panel lines.
6. Fit rails and infill sheets
Once the posts are set, the rails and sheets can be installed. This is the stage most owners picture, because it is where the new fence starts to transform the look of the property. With Colorbond, the finish should be neat, consistent and tight through each bay, with panels sitting correctly in the frame and no visible waviness from poor handling.
Good installation here is about more than appearance. Properly fitted sheets reduce movement in high wind and help the fence perform as intended over time. It is also the point where privacy and street appeal really come together.
7. Finish the site and check the details
The final step is not just a quick tidy-up. It includes checking alignment, confirming fixings, removing rubbish and making sure the fence line presents cleanly from both sides. If the replacement adjoins gates, side access or screening elements, those transitions should also be checked so the full boundary feels cohesive.
A professional finish matters because fencing is always visible. You see it from the driveway, the backyard, the pool area or the tenant entry. A well-finished replacement lifts the whole property.
What can affect the scope of a replacement job
Not every Colorbond replacement follows the same path. Some are simple straight runs between two homes. Others involve old timber fencing, damaged retaining, restricted access or uneven boundaries where extra prep is needed.
Height is another factor. A higher fence can improve privacy and security, but it may require a different structural approach or approval pathway depending on location and use. Colour selection also has an impact. For many owners, replacement is the chance to move away from a dated or mismatched fence and choose a finish that better suits the home exterior, roofline or landscaping.
Then there is the question of whether to replace like-for-like or upgrade. If the old fence did the job but looked tired, a standard Colorbond profile may be enough. If the property has been renovated or the street presentation matters, it may be worth considering complementary gates, slat features or screening elements so the boundary feels intentional rather than purely functional.
Why professional installation usually saves time
Fence replacement can look manageable from the street, but the real work is in the set-out, footing prep and handling of site variables. That is where speed and quality tend to separate experienced fencing contractors from general labour or DIY attempts.
For busy homeowners, investors and commercial property managers, the value is not only in getting the fence installed. It is in getting it done fast, with fewer setbacks and a result that does not need revisiting in twelve months. Perth Fence Pro works with exactly that in mind - practical, durable fencing solutions that are installed efficiently and finished to suit the property.
Getting better long-term value from a new Colorbond fence
A replacement fence should solve more than the immediate damage. It should improve privacy, sharpen the boundary line and reduce maintenance going forward. That means choosing the right profile, ensuring the install suits the site and not treating every replacement as a basic swap-over.
If your existing fence is noisy, leaning, patchy or simply dragging down the look of the property, replacement is a chance to reset the whole boundary properly. Done well, a new Colorbond fence adds structure, security and a cleaner finish you notice every time you pull into the driveway.
The smartest next step is usually the simplest one - get the fence assessed properly, understand what the site needs, and replace it once with a result that lasts.