
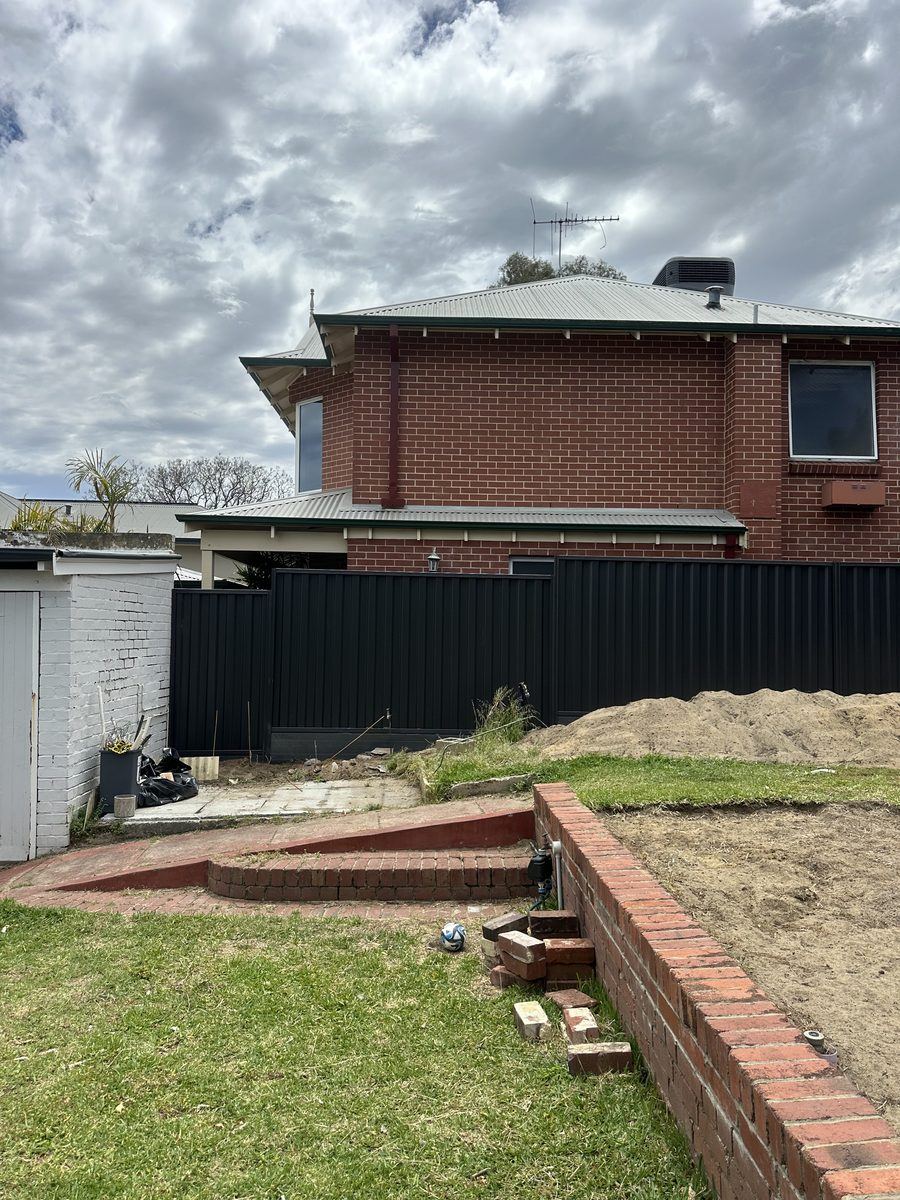
A fence can look simple from the street, but a good Colourbond job is all about what happens before the panels go in. If you are wondering how is Colourbond fencing installed, the short answer is that it starts with careful set-out, solid posts, and accurate levels. Get those right and the finished fence looks straight, performs well in wind, and stays low-maintenance for years.
That matters in Perth and across WA, where fences have to cope with heat, coastal conditions, and shifting ground. A fast install is great, but only if the structure underneath is sound. The best results come from treating Colourbond fencing as both a boundary solution and a visible part of the property.
How is Colourbond fencing installed step by step?
The process starts with measuring and marking the fence line. Contractors confirm the boundary, check for changes in level, and identify any issues that could affect the run, such as existing retaining, tree roots, old footings, services in the ground, or tight access down the side of the house. This early stage is where a lot of future headaches are avoided.
Once the line is set out, post positions are marked at the required spacing for the panel system being used. Accuracy matters here. If the spacing is out, the panels and rails will not sit properly, and the fence can end up looking uneven even if the materials themselves are perfectly straight.
The next stage is digging the post holes. Depth and diameter depend on the fence height, site conditions, and soil type. In sandy ground, soft spots, or exposed areas, extra care is needed to make sure the posts have enough support. Each post is then placed, aligned, and concreted in position.
This is one of the most important parts of the whole installation. Posts need to be plumb, consistent in height, and properly braced while the concrete sets. If the posts move or are set even slightly out, the problem carries through the full fence line.
After the posts are secure, the installer fits the horizontal rails or channels that support the infill sheets. These components create the frame that the Colourbond panels sit within. The sheets are then slid or fixed into place according to the profile and system being installed.
Finally, post caps, trims, and any finishing pieces are added. The fence is checked for alignment, panel fit, and clean presentation. On a quality job, the finished line should feel solid under normal pressure, look tidy from both sides, and follow the site levels in a way that looks intentional rather than patched together.
What happens before installation starts?
Before any holes are dug, there is usually a site check and quote process. This is where height, style, colour, access, and total length are confirmed. It is also the point where retaining, gates, returns, and transitions to other fence types should be discussed.
For residential properties, one of the big questions is whether the fence is being used mainly for privacy, to replace an ageing boundary, or to lift the appearance of the front or side of the home. For commercial sites, the focus may be more on perimeter security, durability, and keeping maintenance low over time.
Ground levels also shape the plan. A flat block is usually more straightforward, while sloping land may require stepped panels or a raked layout depending on the product and site conditions. Neither approach is automatically better. It depends on the look you want and how much variation there is across the run.
If there is an old fence in place, that needs to be removed and cleared before the new one goes in. In some cases, existing posts or concrete can slow the job down. That is normal, but it is one of the reasons two fences of the same length can have very different installation times.
The parts that make up a Colourbond fence
A standard Colourbond fence is not just a few sheets joined together. It is a system made up of steel posts, rails, infill panels, and capping or trim components. Each part has a job to do.
The posts carry the structural load and anchor the fence into the ground. The rails hold the sheets in place and help the fence resist movement. The infill panels create the privacy screen and visual finish. Together, these parts form a clean, modern boundary that suits both newer homes and updated investment properties.
One reason Colourbond is so popular is that the system delivers a neat, uniform appearance without the regular upkeep timber often needs. There is no palings warping at different rates, no obvious gaps opening up over time, and no repainting cycle just to keep the fence presentable.
Why proper post installation matters so much
If there is one part of the job that decides how the fence will perform long term, it is the posts. Good-looking panels cannot make up for poor footing work. A fence with badly installed posts may lean, rattle, or show visible waves along the top line.
In WA conditions, installers need to think about wind exposure, local soil behaviour, and the height of the fence. A boundary fence between suburban homes has different demands from a fence on a larger open lot or near the coast. The installation method may look similar from a distance, but the detail work underneath can change.
This is where experience counts. Fast installation is valuable, but not if corners are cut at the footing stage. A reliable contractor will set the fence out properly, use suitable footing depth, and make sure the line stays consistent from one end to the other.
How long does installation usually take?
For a standard residential run with clear access and no major site issues, installation can often be completed quickly once materials are ready. Smaller jobs may take a day, while longer boundaries or sites with removal, difficult access, or level changes can take longer.
Weather can also play a part. Heavy rain affects digging and concreting, and very hot conditions can change how crews pace the work. In busy periods, lead times for scheduling and supply can matter just as much as the actual on-site installation time.
That is why a clear quote and site inspection are useful. They give you a more realistic idea of timing instead of a rough promise that ignores the details.
What can affect the final finish?
Even with good materials, the finish depends on workmanship and planning. Uneven post spacing, poor levels, rushed cuts, and messy transitions around corners or gates can all stand out once the job is complete.
Colour choice can also affect the result more than some owners expect. A fence is a large visual surface, especially on side boundaries and rear lots. The right Colourbond colour can sharpen the look of the home, reduce visual bulk, and work better with roofing, paving, and landscaping. The wrong choice can make the fence feel harsher or more dominant than intended.
There is also the question of neighbouring properties. Boundary fencing often has to satisfy both practicality and presentation from two sides. A professional install should look clean and consistent from either view, not just from the side facing the main house.
Is DIY installation worth it?
Some property owners consider installing Colourbond fencing themselves, especially for shorter runs. It can be done, but it is less forgiving than it looks. The challenge is not only assembling the panels. It is setting the line correctly, getting every post plumb, managing levels, and handling heavy materials without damaging them.
DIY can make sense if you have the tools, the time, and solid experience with fencing or structural outdoor work. If not, the risk is ending up with a fence that looks slightly off forever. Fixing a poor install usually costs more than doing it properly the first time.
For investment properties, commercial premises, and homes where street appeal matters, professional installation is usually the safer option. It gives you a neater finish, less disruption, and a better chance of the fence lasting as expected.
How is Colourbond fencing installed for sloping blocks or tricky sites?
On sloping sites, the fence may be stepped in sections or adapted to follow the fall of the land, depending on the system and the visual outcome required. Stepping creates level panel sections with visible drops between them. That can work well on stronger gradients and often gives a tidy, deliberate look.
Tricky sites can also include narrow access paths, existing retaining walls, shared boundaries with limited working room, or areas where old concrete and roots make excavation harder. These jobs are still manageable, but they need more planning and often more labour. That is why site-specific quoting matters.
A straightforward suburban boundary is one thing. A custom install around landscaping, levels, and access constraints is another. The best approach is the one that suits the block, not a one-size-fits-all method.
Colourbond fencing works well because it combines privacy, durability, and a clean finish in one system. But the real quality of the result comes from how it is installed on your site, with your levels, and for the way you use the property. If you want a fence that looks sharp and holds up properly, the smartest move is to treat installation as the product, not just the labour that comes after it.